Ice-Painting with the Children
Life With Our Wild Ones
Hey Everyone!
Since working from home more & more and having the twins sporadically in and out of daycare, I find that I have been spending so much time at the end of each day scrolling through Instagram, Facebook and Pintrest looking for fun activities that will entertain the kids so I can attempt to get some work done the following day. Anyone else feel this?
There are so many great Instagram accounts out there that I am inspired from. My dad’s wife is also constantly sharing toddler arts & crafts ideas that she stumbles across on Facebook with me. I love looking at lots of different pages and getting new ideas of fun sensory activities to do with my little people. I’m not going to lie though I think I find these activite’s just as much fun as what they do most of the time.
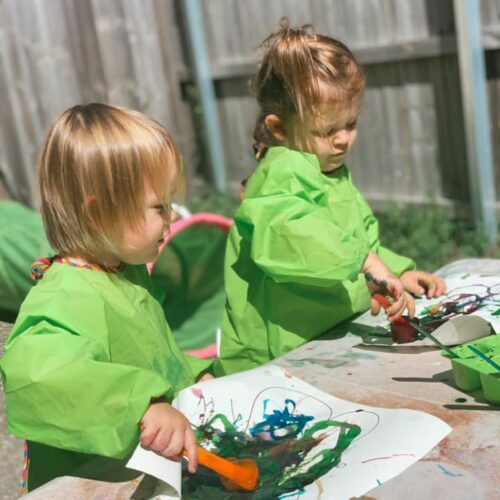
Millie and Ollie LOVE painting. Its so funny watching them concentrate and seeing how excited they get when they create a new picture or when they mix a whole lot different colours together. They look up and say “Oooohhhh pretty picture” and you can see it in their faces how incredibly proud of themselves they are.
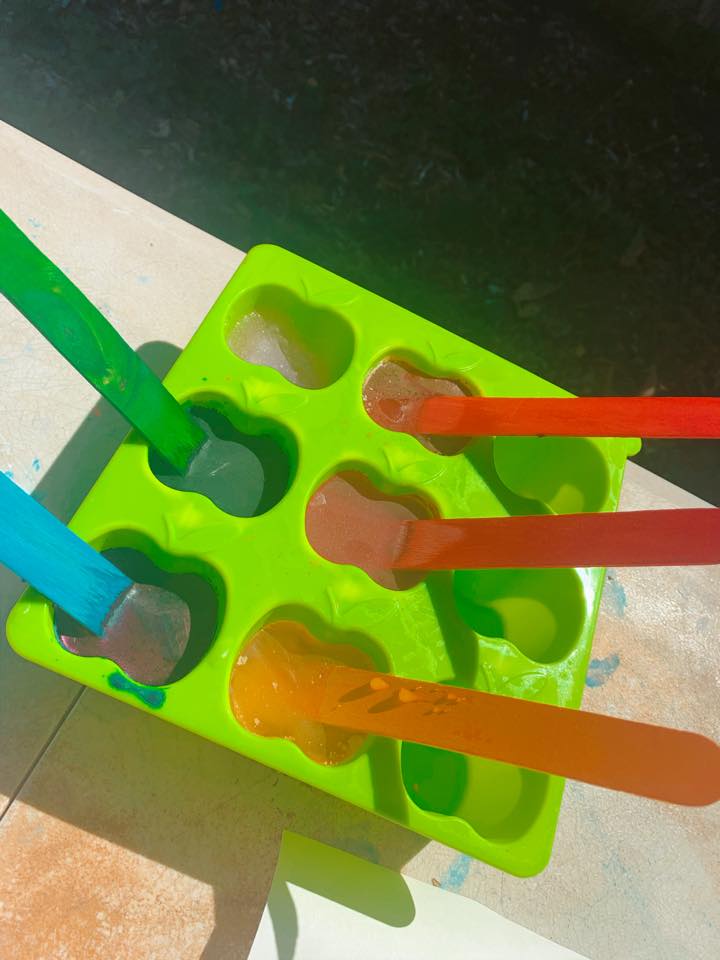
- Ice Tray
- Food Colouring (if you don’t have food colouring you can also use watered down paint)
- Paddle Pop Craft Sticks (or tooth picks)
- Water
- Aprons (I cannot stress this one enough, lol)
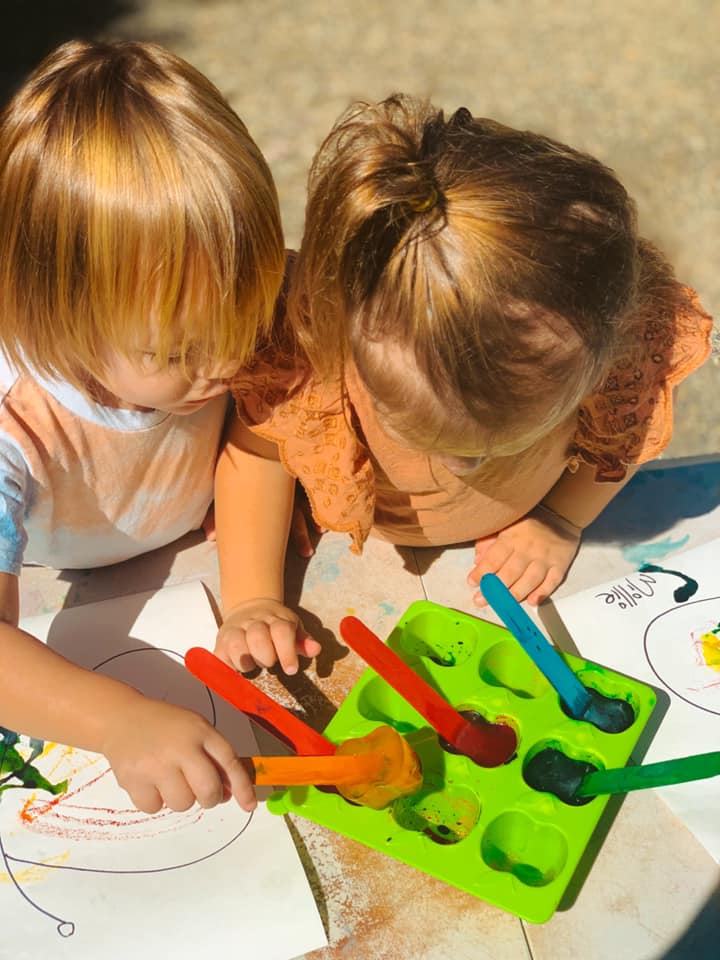
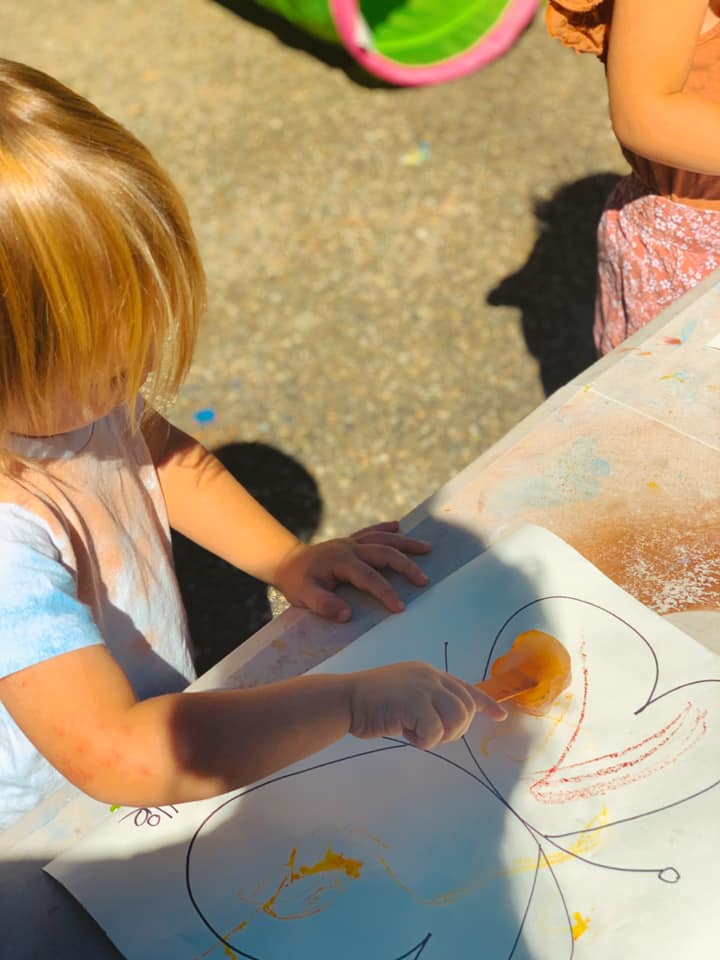
This was such a fun sensory paint activity. It entertained the kids for quite some time and they really enjoyed using their imagination and creating their ice cube paintings. I highly recommend trying this with your little people!! If your keen to check out and follow some instagram pages for more ideas, some of my absolute faves are @the.bored.toddler, @activelittles, @play_at_home_mummy and @ecocraftkids.
Feel free to share your fave in the comments! Have a wonderful week, Chelsea x
If you like this post please share it!
Leave A Comment
Recent Posts
- Courage, Magic, and the Making of Flourish – Ruth Cleminson Honoured as IWD Keynote Speaker June 25, 2025
- Standing in Solidarity: Flourish’s Social Impact in May 2025 June 25, 2025
- Supporting My Child Through Play Therapy: January 8, 2025
- Rize Up Ball June 17, 2024
- Helping Young Minds Thrive: July 28, 2023